Prince Fastener:Fastener production process and crafts– Material modification
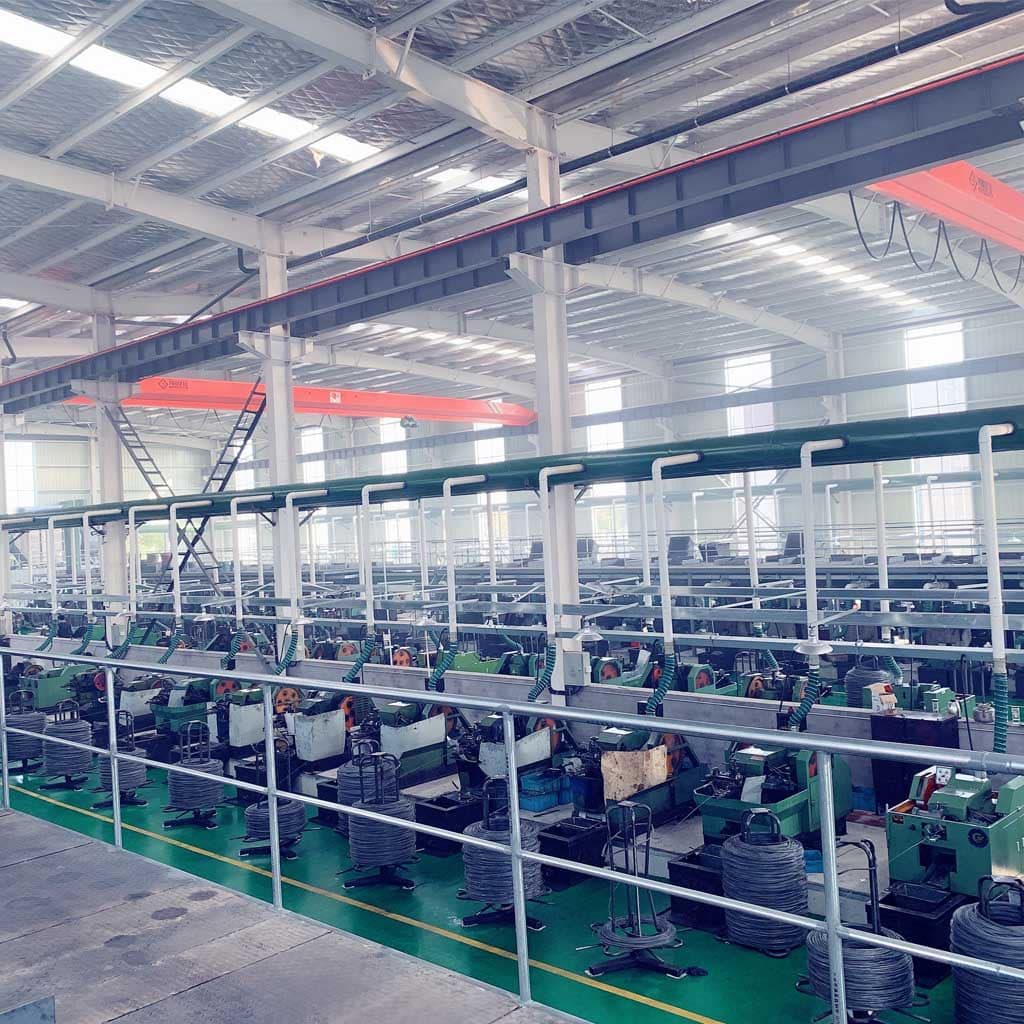
The fastener production process comprises six steps: raw material transformation, blank forming, heat treatment, combined locking, surface treatment, and packaging selection.
Restructuring of raw materials, including material (circle) acceptance, annealing, pickling, phosphating, saponification, and wire drawing, is completed in 6 steps. For materials with large wire diameter changes, the wire drawing is divided into two types: coarse wire drawing and fine wire drawing, which are accompanied by 2 times simultaneously. To 3 times of saponification process.
Today, Prince Fastener introduces the first part of a series of articles on the fastener production process, explaining the concept and definition of each process of raw material transformation in fastener production. At the same time, it introduces the problems and key control items that occur in each process.
Raw material (circle) acceptance
Coiled round, also known as wire or coil, is made by heating and rolling a billet. Due to its size and surface quality, a hot-rolled wire rod cannot be used for fastener production and must be reworked.
Usually used to put:
• A straight circle below Ф25 is called a small disk circle,
• Straight circles above Ф25 are called bars,
• Coils below Ф16 are called wires,
• Coils above Ф16 are called wire rods.
According to the different carbon content, distinguish high, medium, and low carbon circles, among which:
• Those with carbon content above 0.45% are high carbon discs,
• Those with carbon content in the range of 0.22%~0.45% are medium carbon circles,
• Carbon content below 0.22% is a low carbon disc.
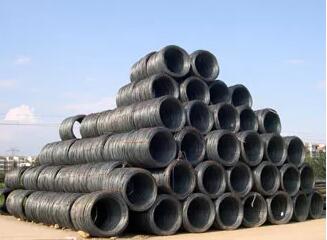
Incoming inspection of raw materials, that is, after the manufacturer purchases steel, a series of inspections are carried out to determine whether the demand is met.
The acceptance items generally have the following points:
• Acceptance of dimensional specifications, following GB/T 14981 “Diameter and Dimensional Tolerance of Hot Rolled Wire Rod”;
• Acceptance of chemical composition (spectrographic analysis, colorimetry, etc.);
• Whether there are obvious rolling defects on the surface (folds, cracks, etc.);
• Whether there is component segregation in the internal structure of the material, whether there is structure defect, whether the surface decarburization meets the requirements (metallographic microscope);
• Acceptance of cold deformation properties of steel (cold upsetting test).
02
Annealed
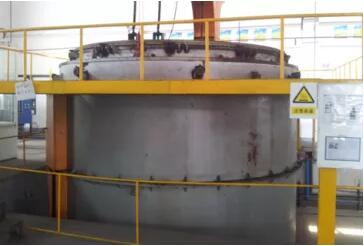
Annealing is a metal heat-treatment process. The metal is slowly heated to a certain temperature, maintained for a sufficient time, and then cooled at a reasonable rate (usually slow cooling, sometimes controlled cooling).
The purpose is to soften the material or workpiece after casting, forging, welding or cutting, improve plasticity and toughness, homogenize chemical composition, remove residual stress, or obtain expected physical properties.
Various annealing processes depend on the purpose of recrystallization annealing, isothermal annealing, homogenization annealing, spheroidizing annealing, stress relief annealing, recrystallization annealing, stabilization annealing, magnetic field annealing, and so on.
Spheroidizing annealing is annealing performed to spheroid carbides in steel. The main purpose is to produce a spheroidized structure, which has the best plasticity and the lowest hardness of the steel. Heat the steel to 20-30 °C above Ac1, keep it for some time, and slowly cool it to obtain a ferrite matrix. evenly distributed
Spherical or granular carbide organization.
Ac1 is the temperature at which the transformation of pearlite to austenite begins when the steel is heated. For related knowledge, refer to the iron-carbon equilibrium phase diagram.
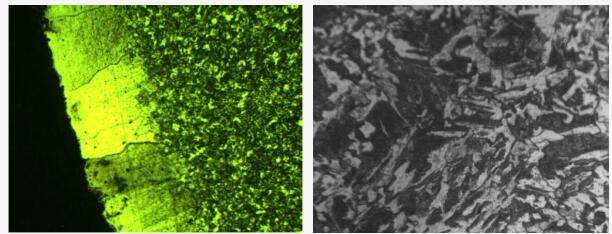
After spheroidizing annealing, it is necessary to check the spheroidized structure and decarburized layer to confirm the spheroidization effect.
The hardness must meet the process requirements and enterprise standards, no carbon layer is allowed, and the spheroidization level must reach 4~6.
The following figure is a sample of unqualified products:
03
Pickling, Phosphating, and Saponification
Equipment: pickling tank, washing tank, phosphating tank, saponification tank.
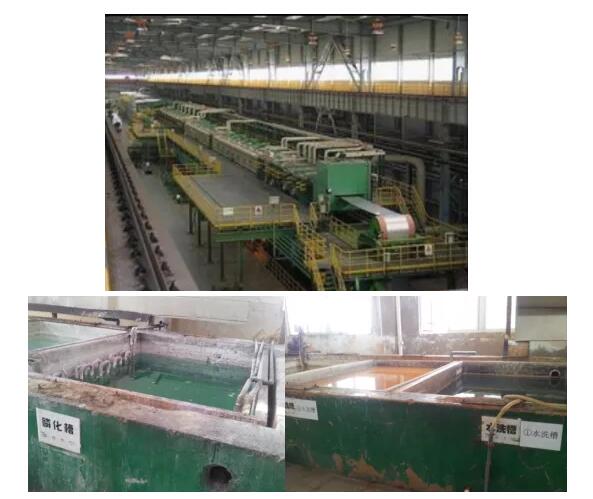
• Pickling: Immerse the entire disk in three hydrochloric acid tanks with a concentration of 20-25% at room temperature for several minutes to remove the oxide film and rust stains on the surface of the wire. The key control points of pickling are the concentration of hydrochloric acid, attention, and pickling time.
• Phosphating: A chemical treatment that forms a phosphate film on the surface of a steel blank. The film thickness is generally 10-15 microns, and the friction coefficient is around 0.05. The purpose is to form a layer of phosphate film on the metal surface to reduce the scratches on the tool and die during the wire drawing, cold heading, or developing process and play a lubricating role. At the same time, it also has an anti-rust effect. The critical control points are total acidity, acid ratio (total acid/free acid), real-time monitoring, and phosphating temperature.
• Saponification: Using sodium stearate or soap as a lubricant, the phosphate in the phosphating layer chemically reacts to form zinc stearate. The purpose is to provide lubrication. Critical control points: oil content, free acidity, real-time monitoring, and saponification temperature.
• Water washing: remove the hydrochloric acid corrosion products on the surface of the wire to prevent the acid from being carried into the next pool. The key control points are pH, real-time monitoring, guaranteed overflow, and high-pressure water spray inside and outside.
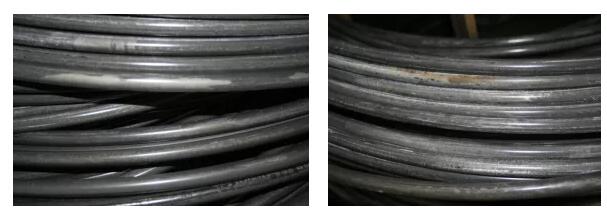
After the surface treatment, check the surface condition: the phosphating film is qualified, free of scratches, scratches, and oxide scales.
The following figure is a sample of unqualified products:
04
wire drawing
Equipment: drawing machine, drawing die.
The purpose of wire drawing: to provide wires of corresponding specifications for cold heading production.
Wire drawing: Under the action of a certain tensile force, the wire blank undergoes plastic deformation through the die hole, which reduces the cross-section and increases the length.
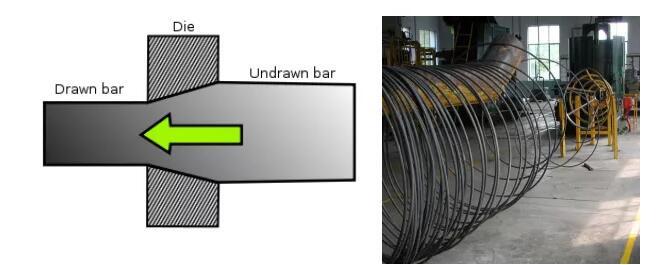 Wire drawing key control points: wire drawing speed, wire drawing reduction ratio:
Wire drawing diameter inspection: Confirm that the measured wire diameter is within the tolerance range and the measured out-of-roundness is within the tolerance range.
Brushed Surface Inspection: Verify that cracks, nicks, pinches, and wire drawing directions are within allowable limits.
That’s the topics what we want to share with you.If you have any questions or suggestions, or if you need source files, or if you need to communicate with the group, you can contact Prince Fastener directly
